">

OUR
PROCESS

HOW A DUR BOARD IS MADE

Making a wooden surfboard by hand is not a simple task. There are many factors involved and obstacle to overcome. Below, we will tell you in detail how a DUR board is made, a process that requires knowledge, determination, and sometimes, patience.

Ideation and Sketching

1. IDEATION AND SKETCHING

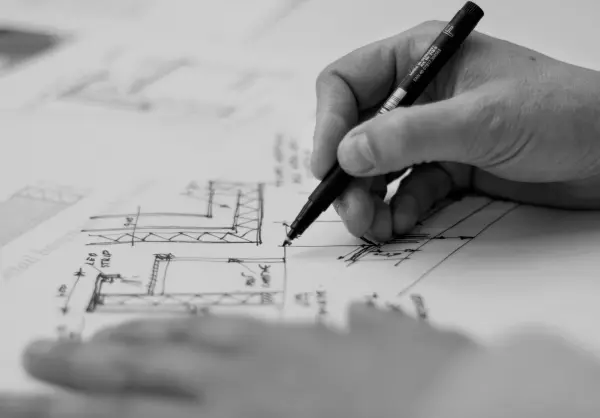
The manufacturing process of any board that we make at Dur always begins with an initial design phase. Sketching, weighing up the different alternatives, trying out different options... In short, putting down on paper what we have in mind.
From paper to computer

2. FROM PAPER TO COMPUTER

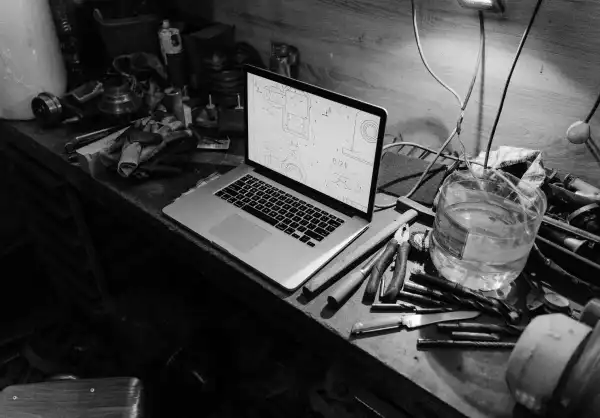
What is drawn on paper is taken to the computer to turn the proposed design into something feasible. It is in this phase that the plans are built and possible structural problems that may hinder the viability of the board to be made are resolved.

Selection of material

3. SELECTION OF MATERIAL

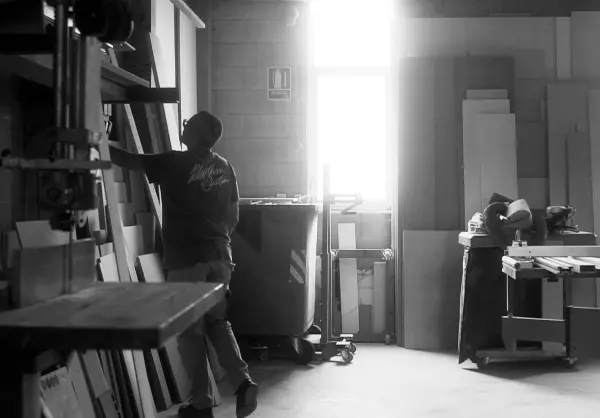
In our boards, the material plays a fundamental role, which is why we take our time in choosing the best slats. The material used is mostly Paulownia wood, a low-density, resistant and very light wood.

“WE TAKE OUR TIME TO CHOOSE THE BEST MATERIALS, WE MAKE BOARDS THAT ARE DESIGNED TO LAST”

construction of the structure

4. CONSTRUCTION OF THE STRUCTURE

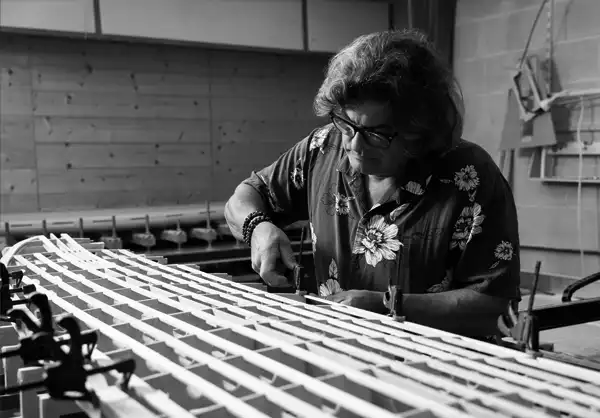
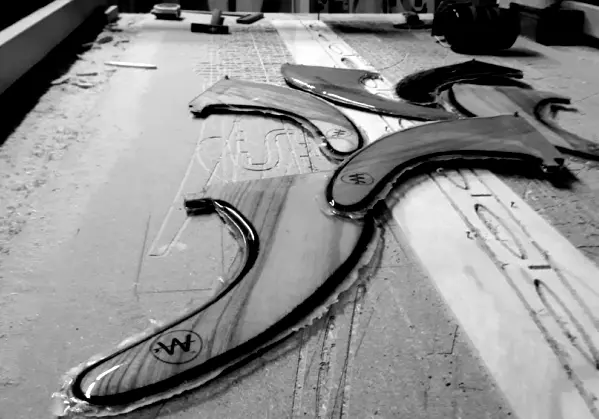
We begin with the actual workshop work with the construction of the interior structure that will support the board: the ribbing. The ribs of our surfboard are made with a CNC machine and are placed in such a way that they form the backbone of what will be the board.

Placing edges and caps

5. PLACING EDGES AND CAPS

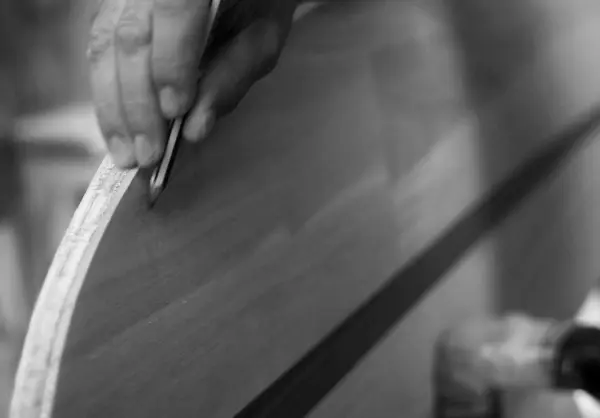
Once the assembly and gluing of the ribs is done, the process continues on a bench where the board is shaped. This is when the edges are placed by gluing 3 cm strips alternating different types of wood. Next, we will build the caps to glue them on the structure. The top is where poursuit sur un banc sur lequel la planche est façonnée. C'est alors que les chants sont posés en collant des bandes de 3 cm, en intercalant différentes essences de bois. Ensuite, the marquetry is done which is crucial to giving the board its own aesthetic.

Edges of the board

6. EDGES OF THE BOARD

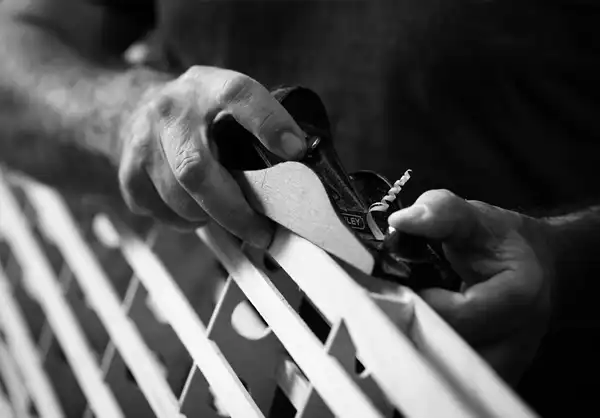
Next, we come to one of the most important moments of the entire manufacturing process: giving the board's edges the right shape. This task is done by using a bastren brush, a specific tool for this task, with which the edges of the board are brushed manually and in an artisanal way.

“THE MARQUETRY PHASE IS WHAT DEFINES THE CHARACTER OF THE BOARD AT AN AESTHETIC LEVEL. WE HAVE NUMEROUS ALTERNATIVES FOR THIS.”

Sanding the board

7. SANDING THE BOARD

Once the edges have been done, we will proceed to sand the board by hand to eliminate any imperfections it may have.

Fins, leash and safety valve

8. FINS, LEASH AND SAFETY VALVE

Once the sanding phase is over, it is time to place the fins, leash and safety valve. The safety valve is a fundamental piece, as it makes it possible to release the between the outside and the pressure of the board inside of the board.

Final polishing

9. FINAL POLISHING

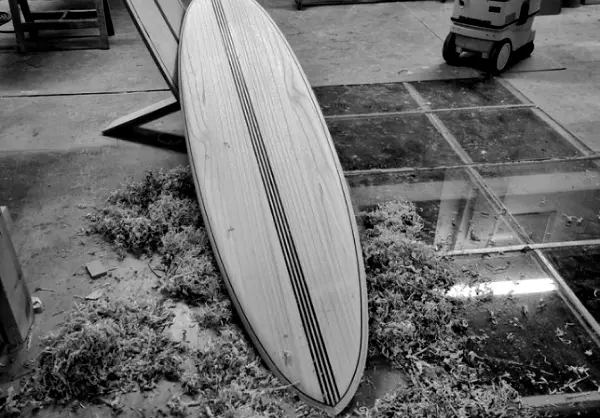
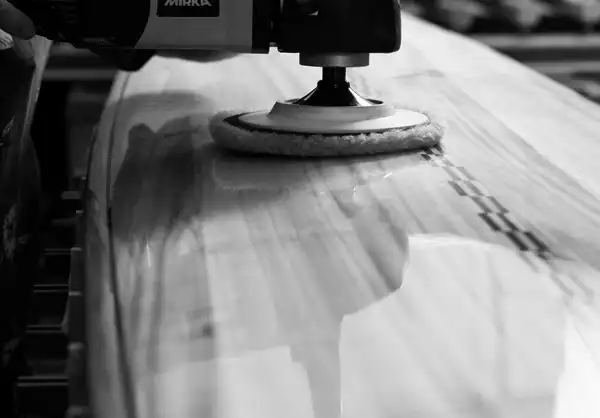
To finish, we will proceed to apply the glass blanket and apply epoxy resin. Once dry, it is sanded and another coat is applied. Once finished, we will begin with a process with poncé et recouvert d'une 1500 grit sandpaper to finish with another 6000 grit. Finally, we will use mediumfine and extra-fine polishes to apply a coat of wax. With this, we will achieve the glass or crystal effect.

DUR WORKSHOP SCHOOL

If you wish, you have the possibility of making your own board in our workshop by choosing from the available models. Within 2 weeks you will have it ready. Contact us, the experience is worth it.

MAKE AN APPOINTMENT